How to setup an AWS EC2 (VPS) instance
Recently, I have seen a number of people looking for hosting for their discord bots. Many people go to services like Heroku, but if you would like full VPS and full control, then AWS is a great option, especially since there is a free tier for one year. However, AWS has a lot of different products and the UI can be a little overwhelming so I thought I would write a quick brief guide on how to get started. This, however, is by no means a deep dive into all the features/products of AWS.
Getting Started
The first thing you need to do is head over to AWS and create an account. This is not the same account that you would use for Amazon's website so you will need to create a new one. Make sure you setup 2FA as well.
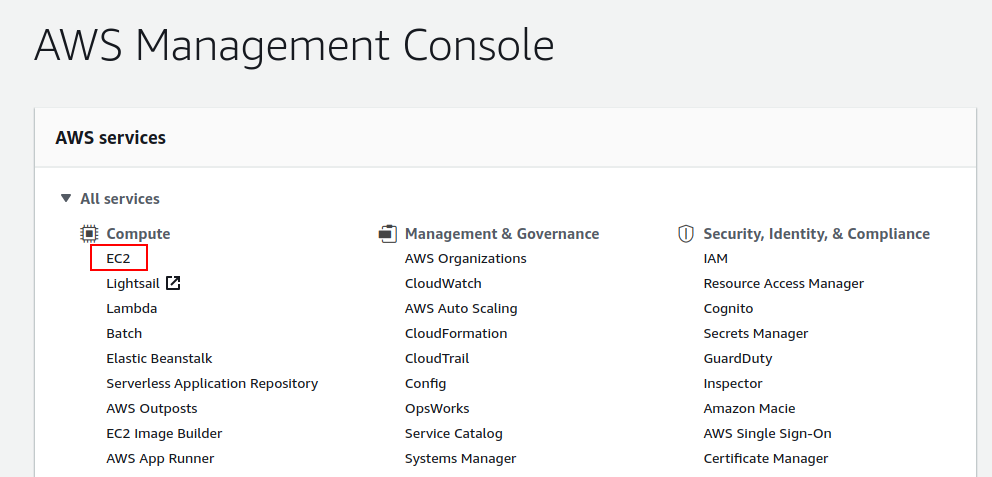
Once you have your account and are logged in, head over to the management console and under All Services->Compute, select EC2. This is basically amazon's name for a VPS, similar to a droplet on DigitalOcean.
Note: If you wish to change the region, you can do so in the top right, next to your account name. It would make sense to do this now before creating your EC2 instance.
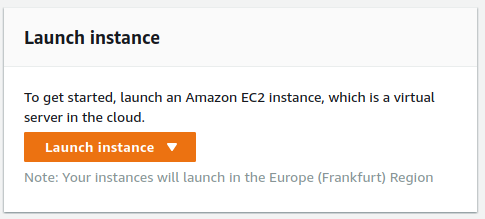
Launch instance
The EC2 Dashboard can seem very overwhelming at first as there are a lot of options, but the only thing we need right now is the big orange "Launch instance" button.
Step 1: Choose an Amazon Machine Image (AMI)
The first step is selecting which operating system you would like to run on your EC2 instance. Make sure you choose one that is "Free tier eligible" if you want to take advantage of that for 12 months. For the purpose of this guide, I'm going to go with Ubuntu Server 20.04 LTS. If you are new to Linux, it is a great option as there are many learning resources available online; I'd definitely recommend it for getting started.

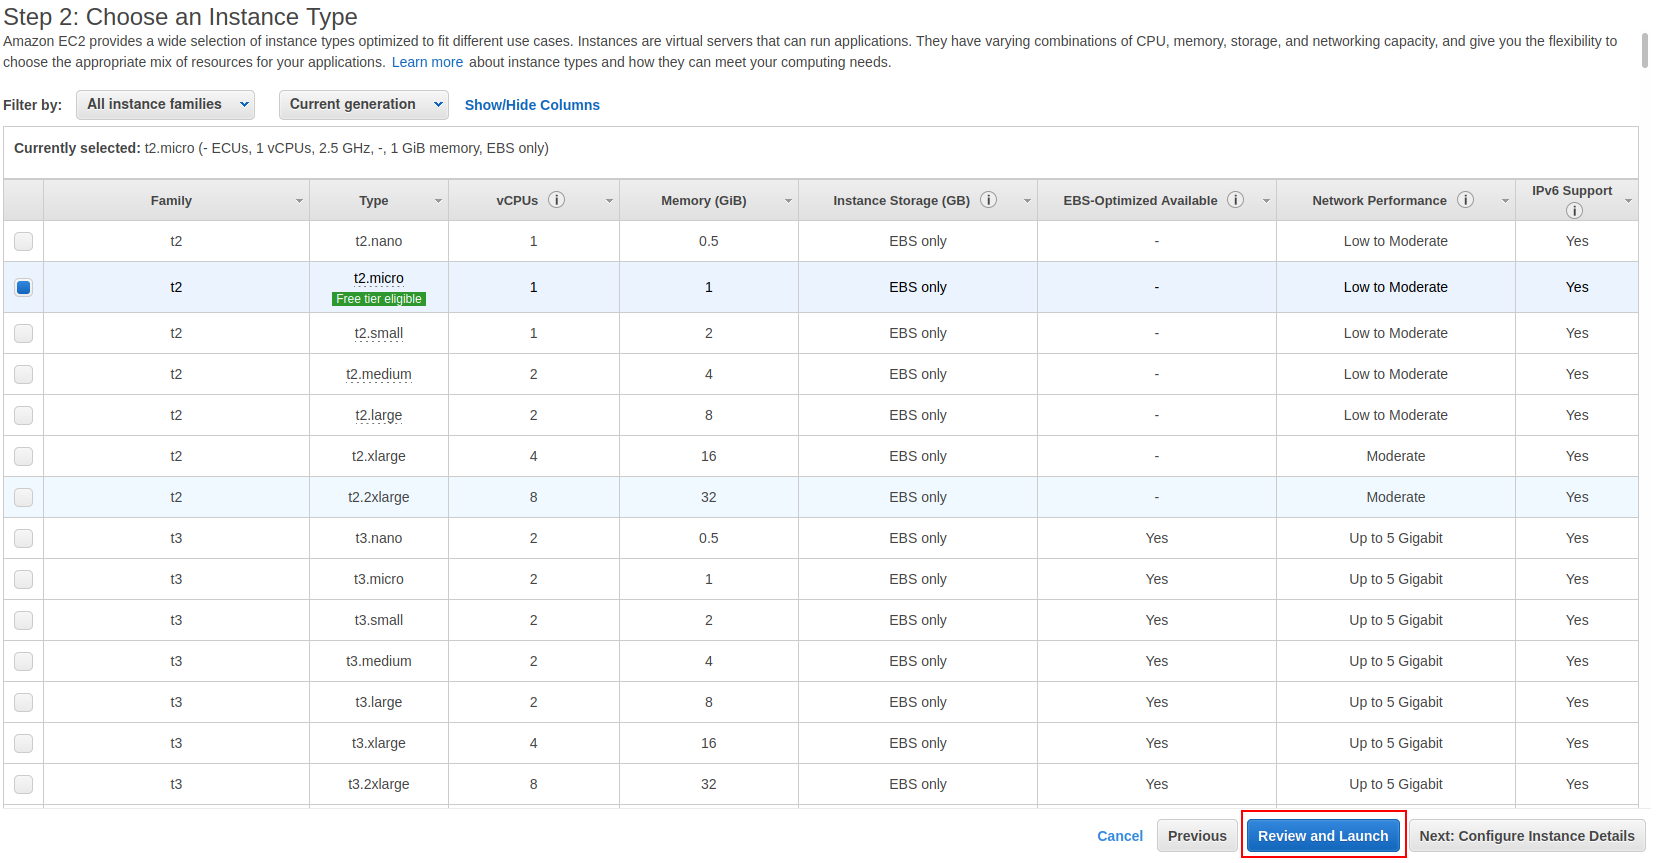
Step 2: Choose an Instance Type
Next we choose our instance type. There are plenty of options here (everything on AWS seems to be overwhelming!). For getting started, choose the t2.micro as this is free tier eligible and has 1gb of RAM which will be plenty for starting out. You can always upgrade later to one of the other instance types if your needs require it.
Depending on what you are planning to run on your VPS, you can probably now just click the big blue "Review and Launch" button. This would be suitable for anything that doesn't require an inbound connection, such as a discord bot. However, if you want to host a website, see the optional step below.
If you do not require any inbound connection other than SSH, you can skip the next step and just click the "Review and Launch" button.
Note: One thing that could be done to restrict access is to change the security group settings so that SSH is only accessible from your own IP address rather than the entire world
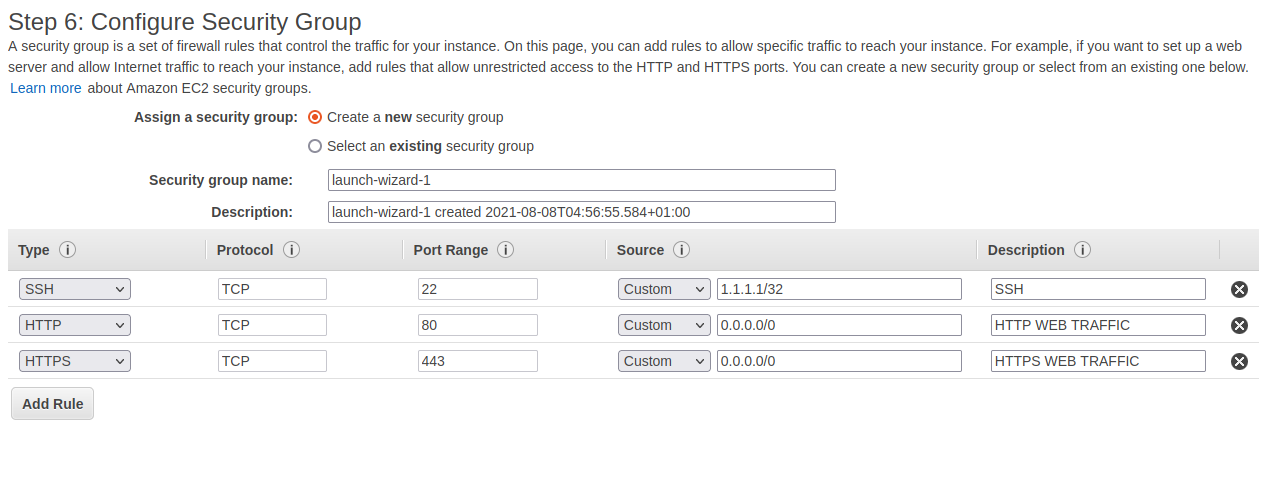
Optional: Step 6: Configure Security Group
Skip ahead to step 6 of the configuration. This is where you can configure the security group. This is basically the firewall and defines which ports are open and where they can be accessed from. The change mentioned above about restricting SSH to your own IP can be done here. Simply change the Source to your own IP. For example: If your IP address was 1.1.1.1, you would enter "1.1.1.1/32".
Here are some example options that would allow HTTP/HTTPS web traffic and a connection from SSH only on my own IP, shown as 1.1.1.1 as an example. Make sure you replace this with your own.
Launch!
Once you've completed the steps above, click "Review and Launch".
Make sure you are happy with all your choices, then click "Launch".
SSH Keys
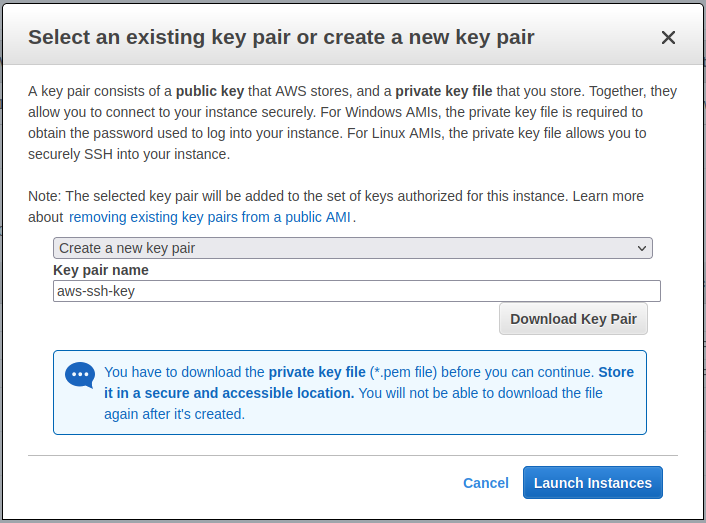
You will now be prompted to create an SSH key pair for accessing the EC2 instance. Choose "Create a new key pair" and give it a name, then click "Download Key Pair".
Make sure you save this somewhere secure and not lose it. If you do, you will no longer be able to gain access via SSH.
Note: I'm not going to go into using SSH and keys as it is outside of the scope of this guide. However, here is a guide for using PuTTY on Windows with the key pair you have just downloaded.
Once you have downloaded the key and saved it somewhere safe, click Launch Instances.
Launched!
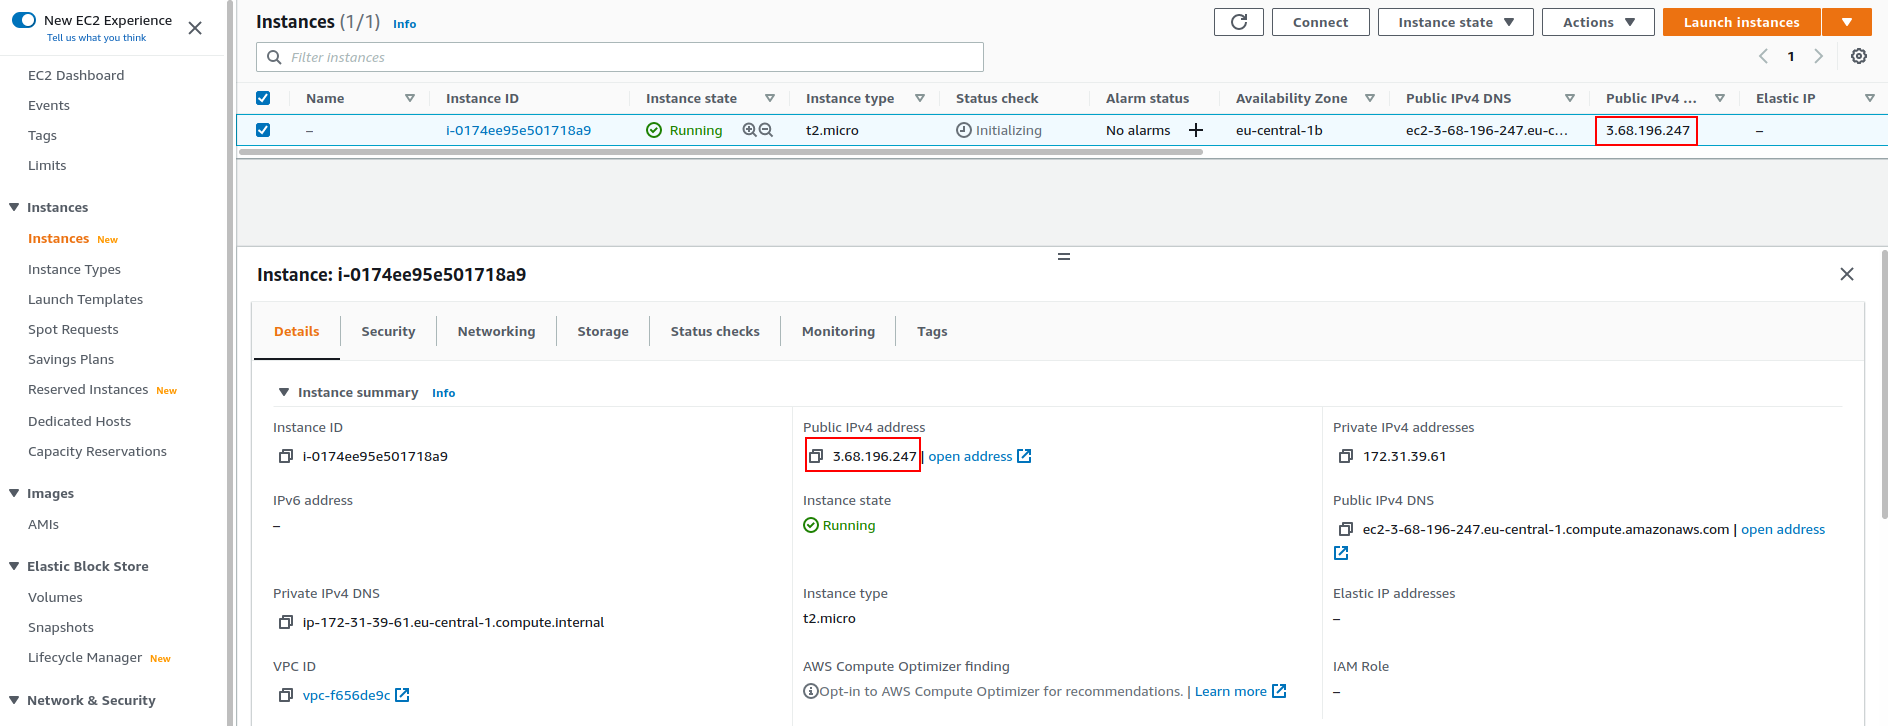
You can now go back to your dashboard and choose instances on the navigation panel. You should see your instance and its status. Once it is running, we can connect via SSH. You can click on it for further details in the panel below.
To connect, you will need to make note of the Public IPv4 Address. This can be seen in the instance list at the top or within the details tab if you select the instance.
Connecting
Let's connect by SSH. The default user is ubuntu if you chose Ubuntu Server, and your IP address can be found on the AWS web console as mentioned above
$ ssh ubuntu@3.68.196.247 -i aws-key-pair.pem
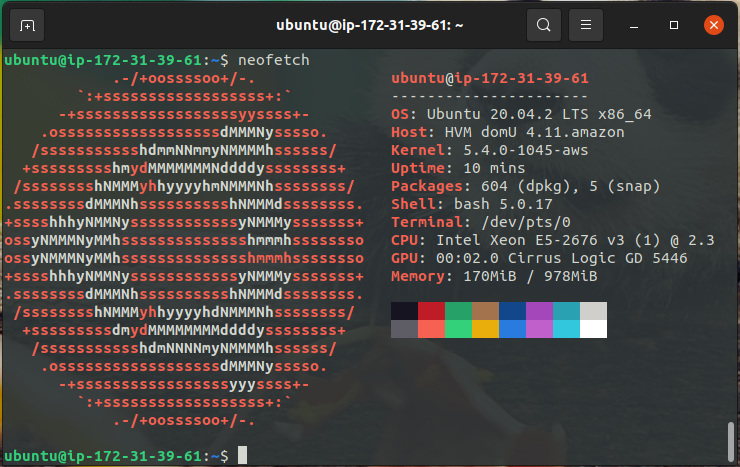
All connected via SSH!
Summary
Hopefully, this guide was easy to follow. AWS is definitely overwhelming at first and there is still a lot I need to learn about it, but as you can see, it's really straight forward to set up with a basic VPS that you can run whatever you need to.
If any of you have any further questions or suggestions, please get in touch! Contact details be found here.